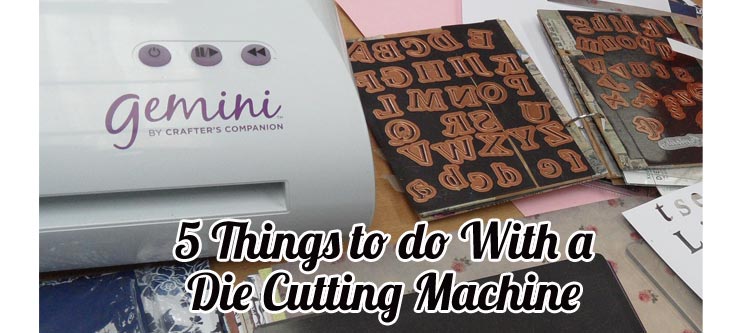
A personal die cutting machine is one of the most popular and loved tools in the modern crafter’s tool room.
One of the best things about them is their amazing versatility. Even with just a very small assortment of dies, you can create so many things.
Here are some ideas for creating with your die cutting machine which you may not have yet tried…
1 – Frames
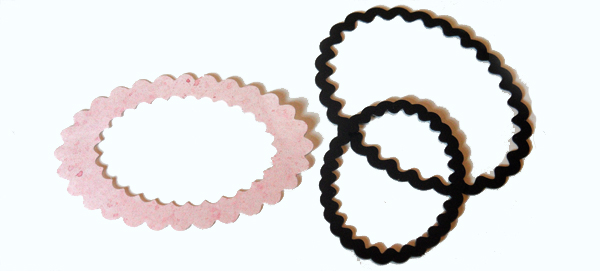
All sorts of pictures, toppers, photos and embellishments look better with a nice frame. This is one of the easiest and most commonly used die cut embellishments. Having a few basic shaped dies in a gradation of sizes (small, medium and big etc) will open up a world of quick and easy framing. Just cut the smaller size from out of the bigger one.. instant frame. Remember that the frame does not always have to be symmetrical.
Try off-setting the smaller die for new and interesting variations.
And don’t forget to try cutting one shape out of a different shape. This looks particularly effective when using one clean edged shape and one with a fancy edging, such as scalloping.

2 – Create stencils
After you have cut out some dies.. keep the left-over surrounds! Here you have a handy stencil, especially if it is chipboard. Or create them especially from acetate or plasticard for long life.
Use your new stencils with your paints, pens, spritzers, ink pads and so on. I have been creating stencils for filling with Zentangle® inspired art.

You can also use the die cut itself as a mask. Fix it down with repositional glue then spray, daub or paint. Remove the mask – and use it again if possible!
3 – Mix and match your dies
Just because the die is SUPPOSED to be a penguin doesn’t mean that it can’t be used as a flower petal, or a sheep’s face, or a Russian doll too! Have a good look at your dies and you may well see new uses for the different shapes. You can also cut the results up, of course. A snowflake, cut in half, might look like a crown. A big star can be cut into triangles, or diamonds. A teddy bear with his ears removed may look like a baby.

4 – Cutting felt and craft foam
Larger machines can exert enough pressure to cut through felt. You may need to use a deeper type of die for this, the very tinniest dies often do not have enough of a “blade” to reach through the felt. Try adding a cardboard “shim” to get a bit more pressure if needed.
Felt shapes can be stitched or glued to paper projects, and of course to fabric, knitted and crocheted ones too. You can also felt them to fabrics with a felting needle or felting machine.
I have had no problems with cutting craft foam with thin dies on my Sizzix Big Shot, but a smaller die cutting machine may not be able to apply enough pressure to do so. Craft foam is cheap, clean and comes in lots of bright colours. Glue with a hot glue gun and the results are sturdy and long lasting too.

5 – Make your own chipboard cut outs
Save packaging materials for a free source of card, and cut out your own chipboard and cardboard shapes. Paint them, emboss them, enamel or decoupage them. A simple card shape can be transformed into something that looks quite expensive. I will write a tutorial with lots of ideas for this in the future.
Cut out a series of shapes, punch holes for a binder ring and create your own mini-books to embellish.
Use the first idea in this list, frames, with chipboard and you can create your own picture frames. Just add a piece of card at the back for a stand, make a pocket for the photo using thin card. You can also add a sheet of acetate to the hole if you wish – and packaging can supply you with free acetate for this too!

Supplies Used
Here are links to the supplies mentioned on Amazon.com and Amazon.co.uk. If you buy from these links I would get a small commission for having sent custom their way. This is at no extra cost to yourself. Thank you.
If you have an electronic cutting machine you may be interested in my article 10 Tips for Using Your Silhouette Cutting Machine.
Check out the papercrafting tutorials on the Tin Teddy Blog. Cardmaking, artist trading cards, art journal pages, tags and more.

